Peel. Stick. Done
Say goodbye to complicated tiling. Transform walls in minutes with our Peel & Stick Smart Tiles, a renter-friendly solution that leaves no residue behind. Perfect for kitchens, bathrooms, and beyond.
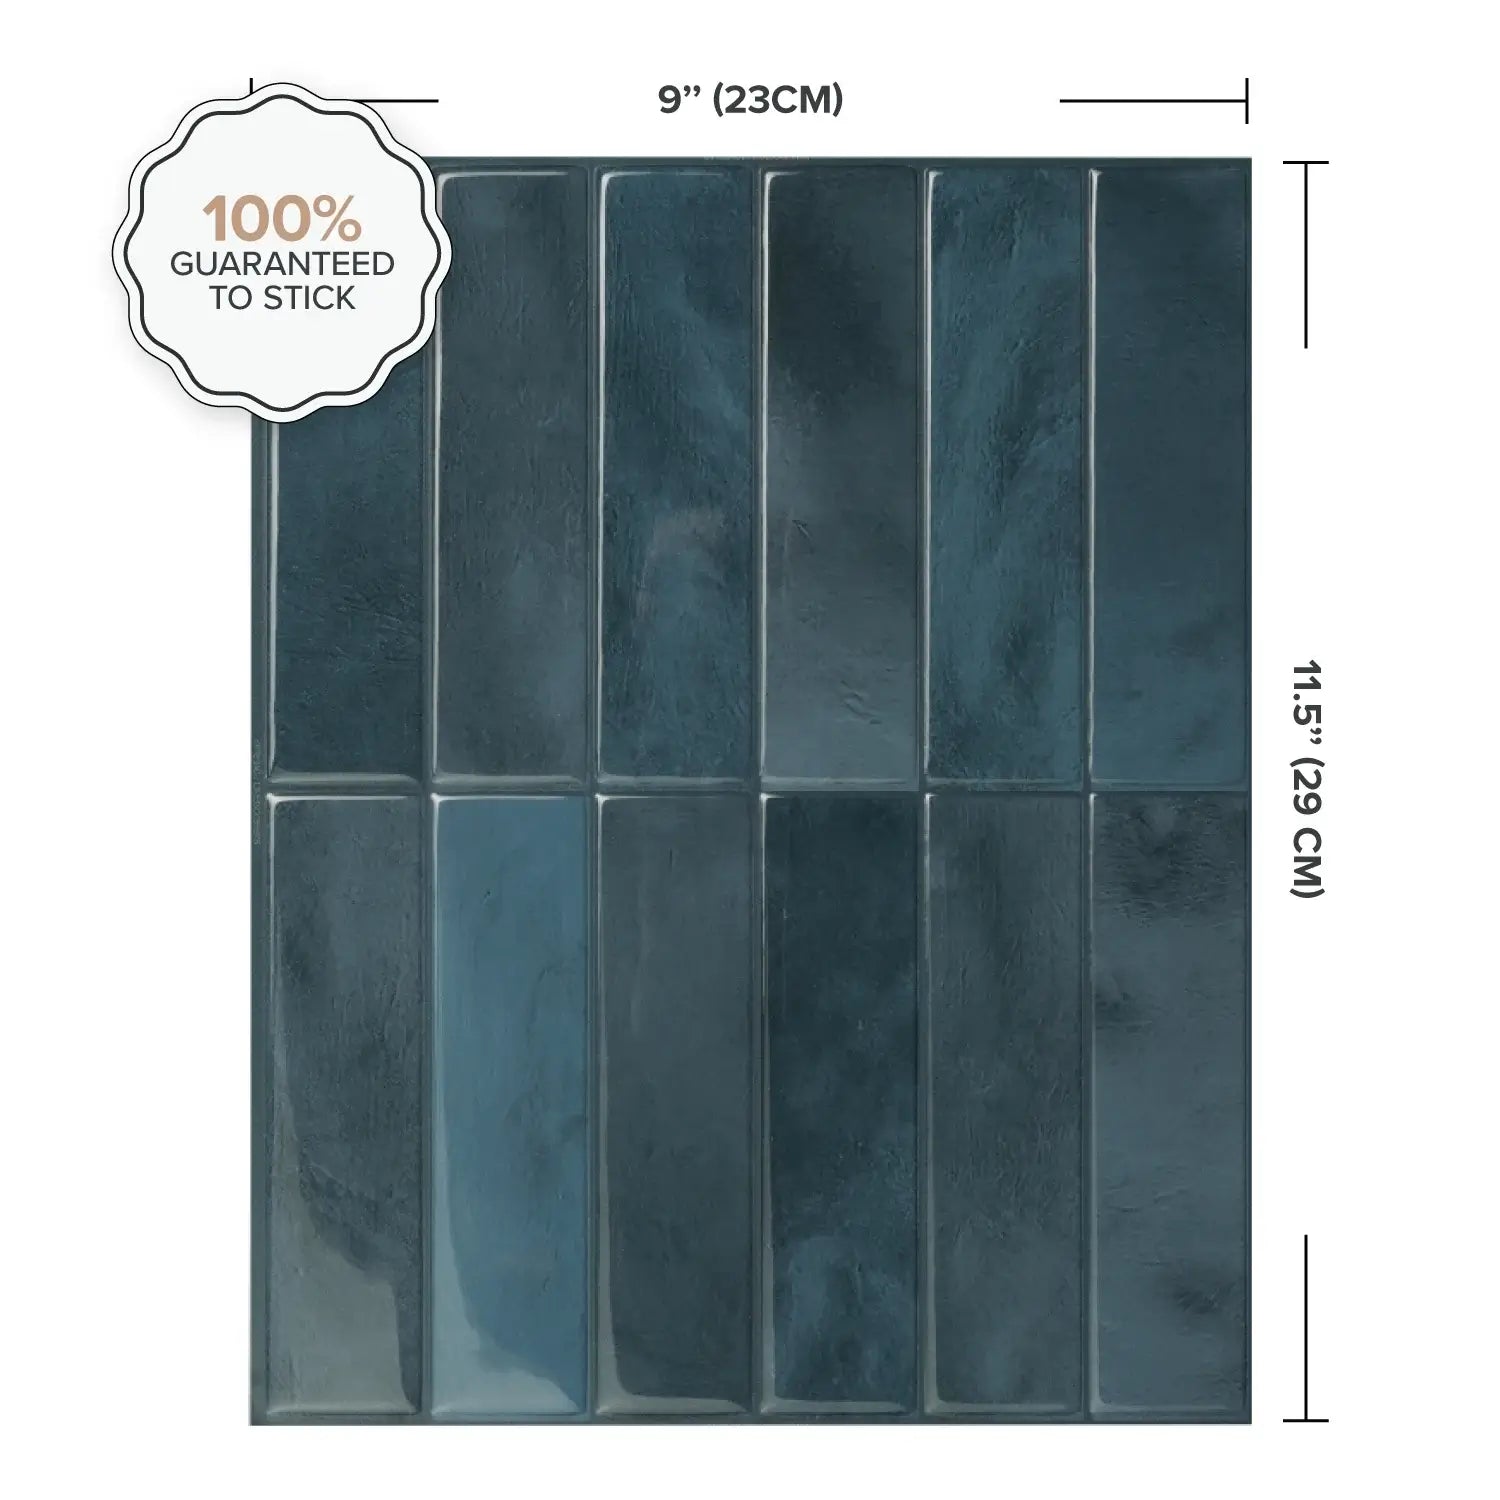
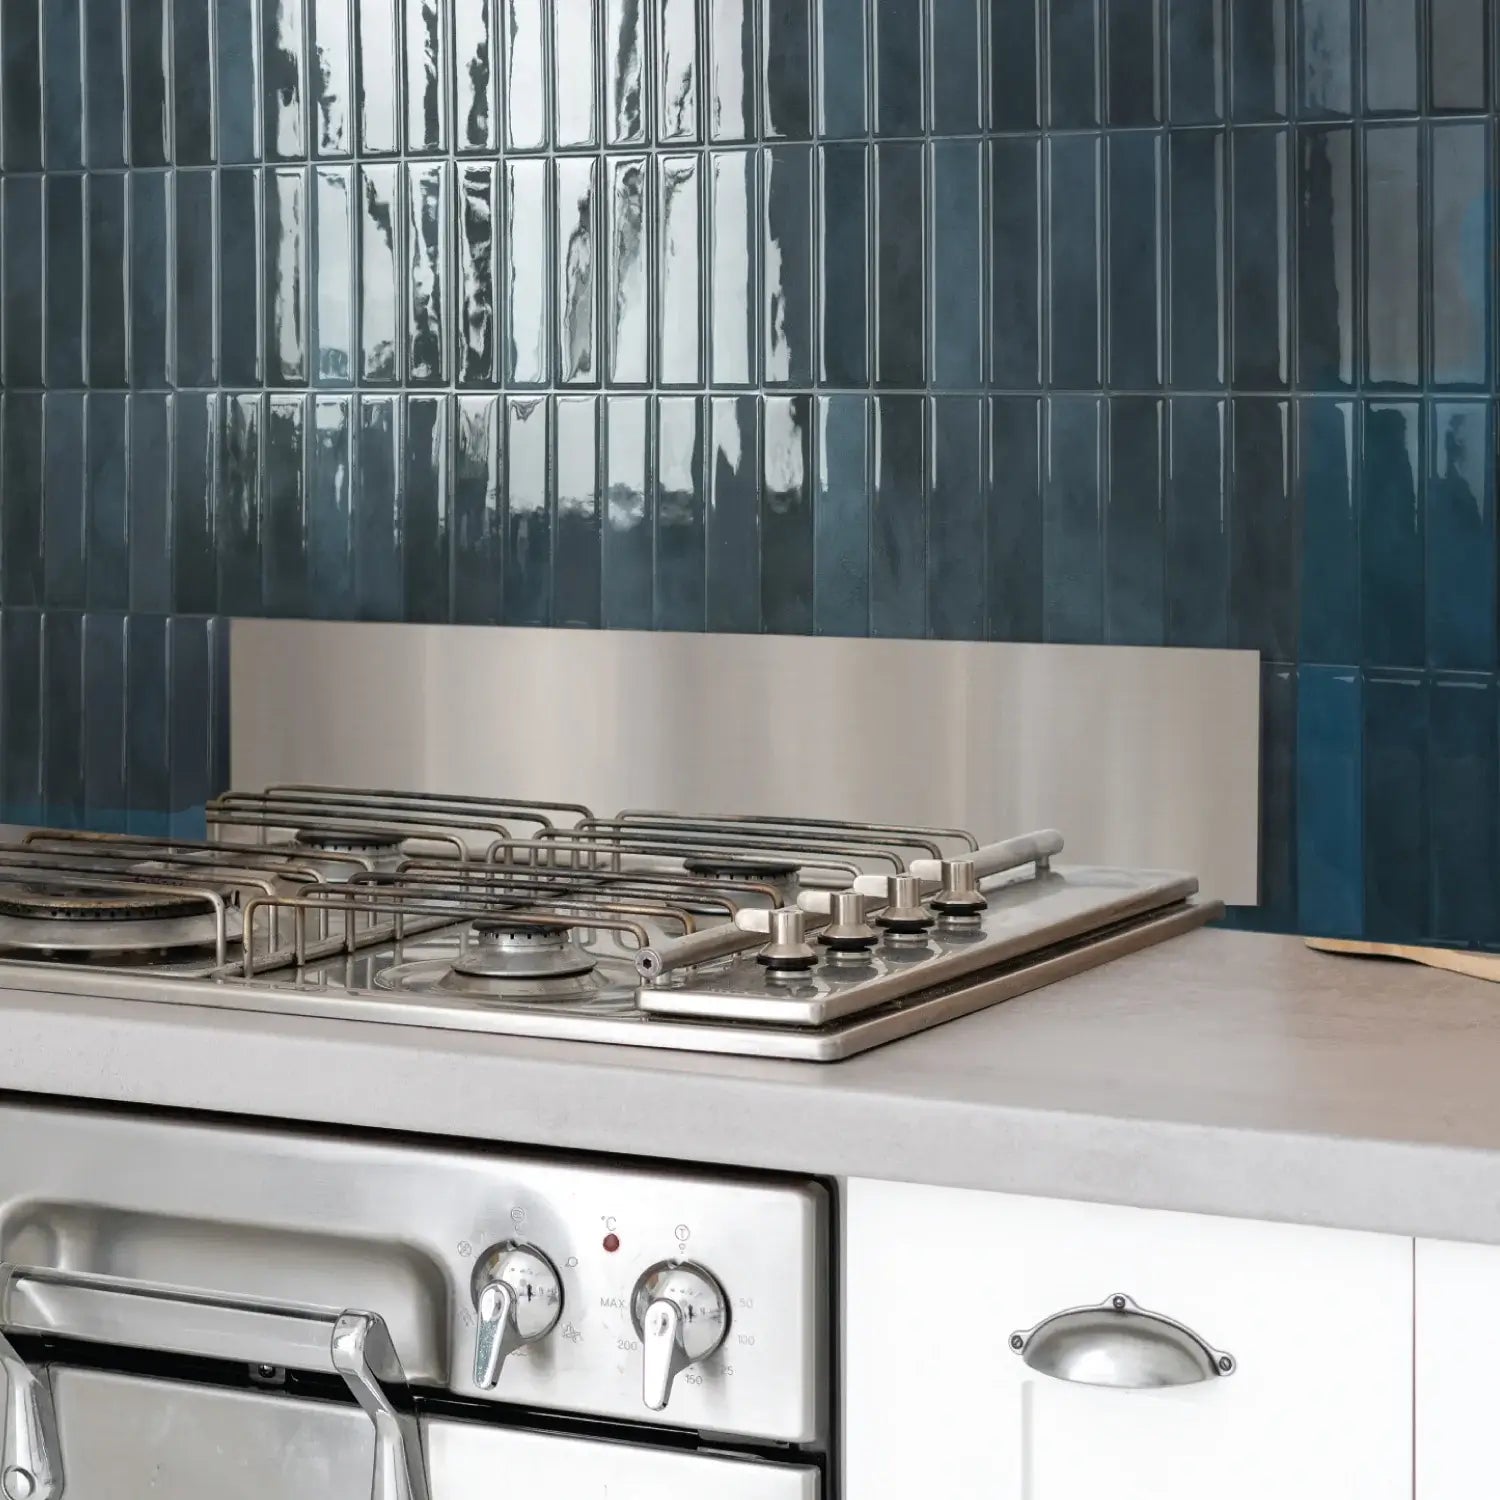
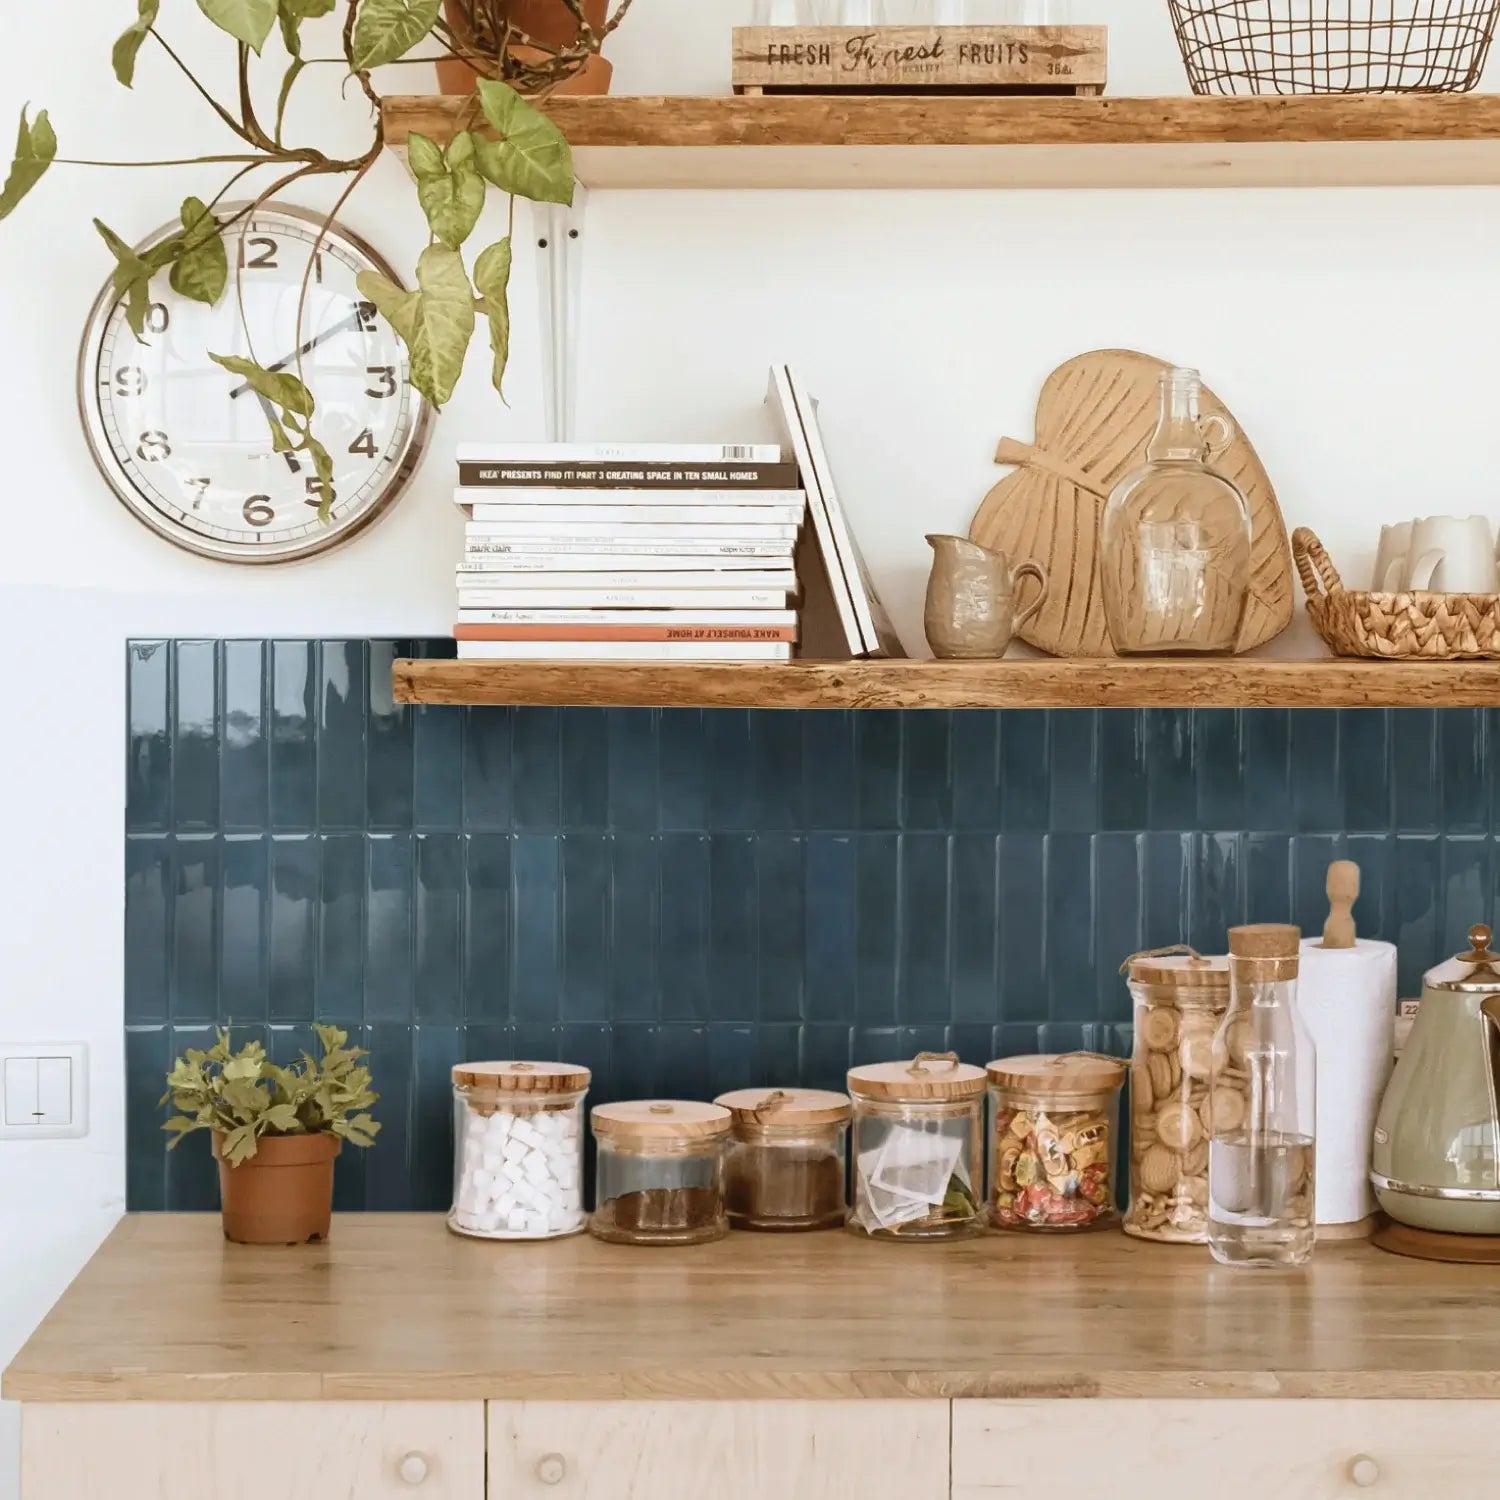
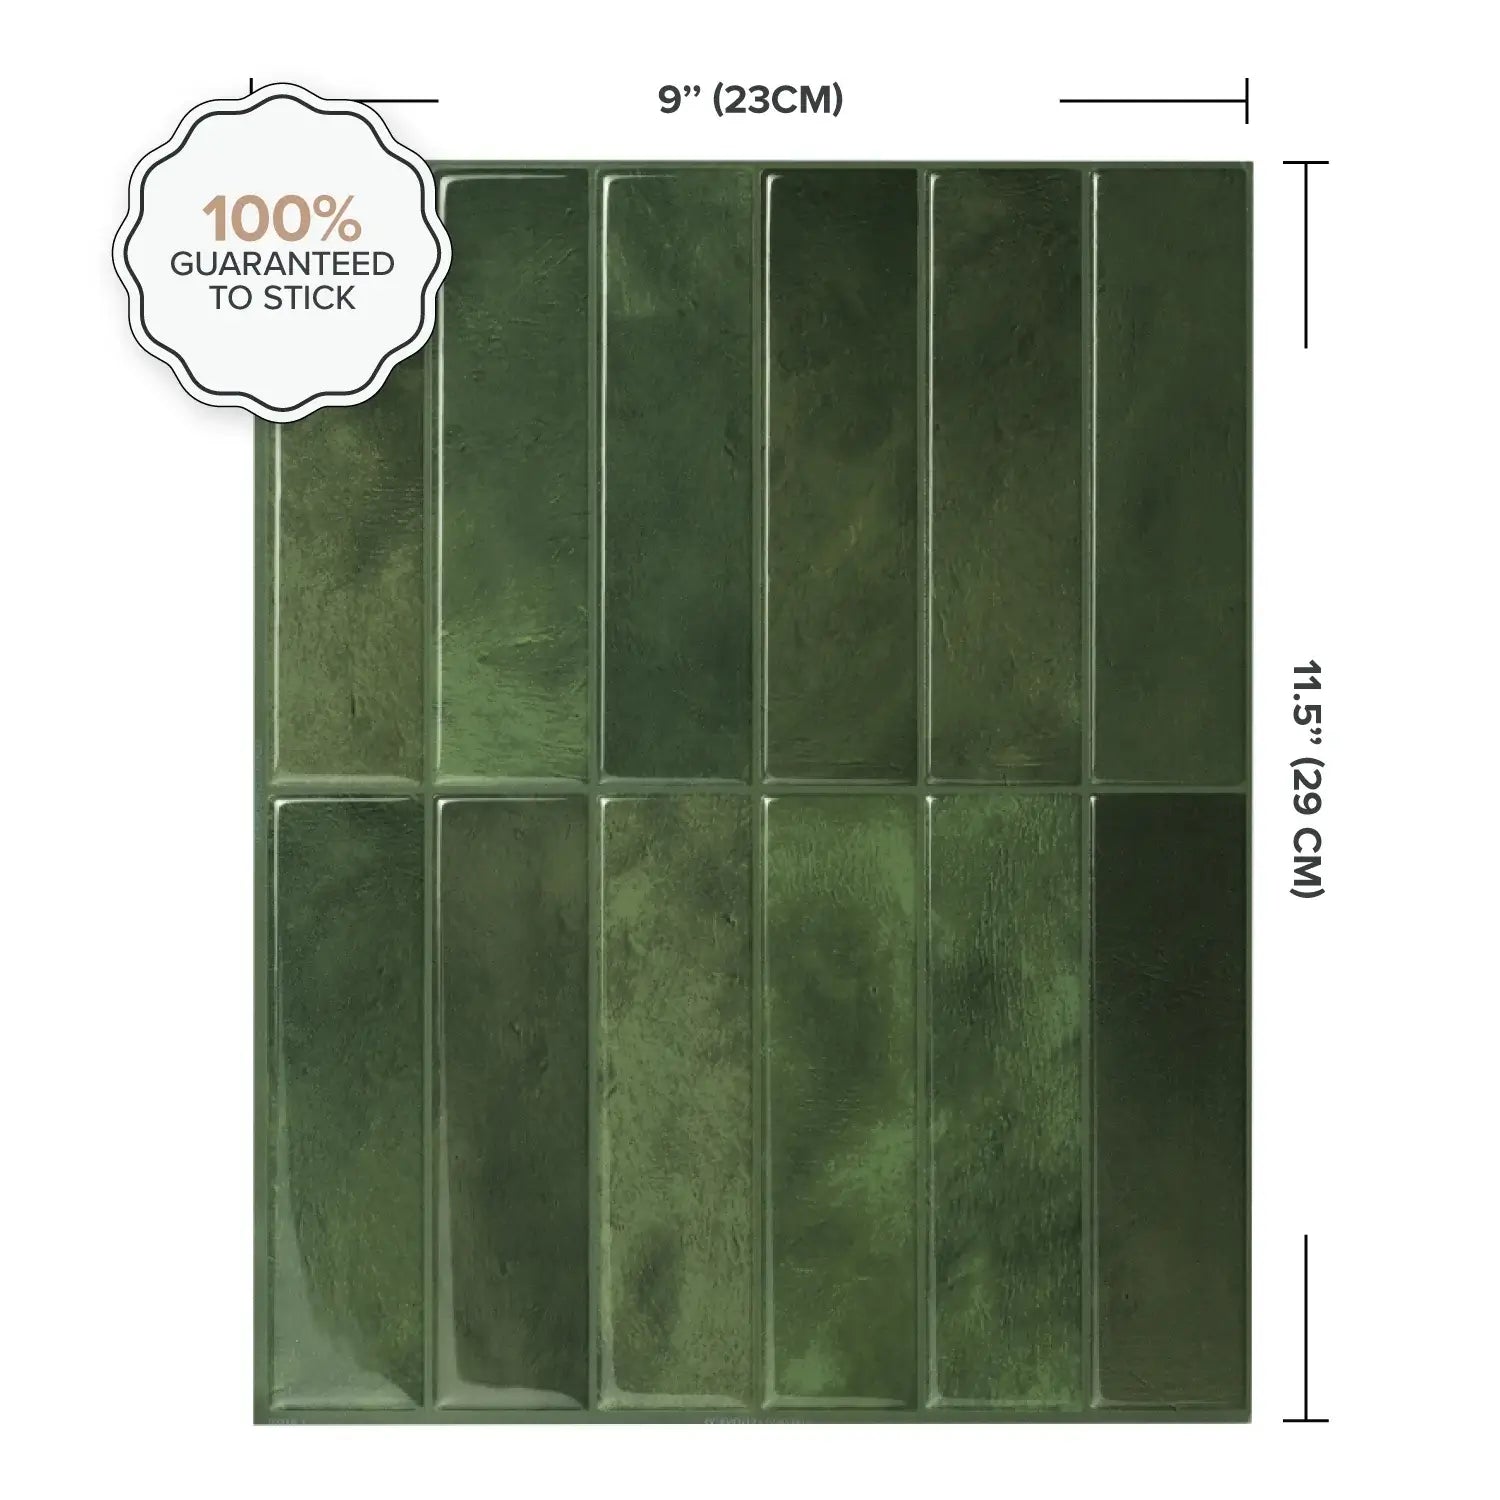
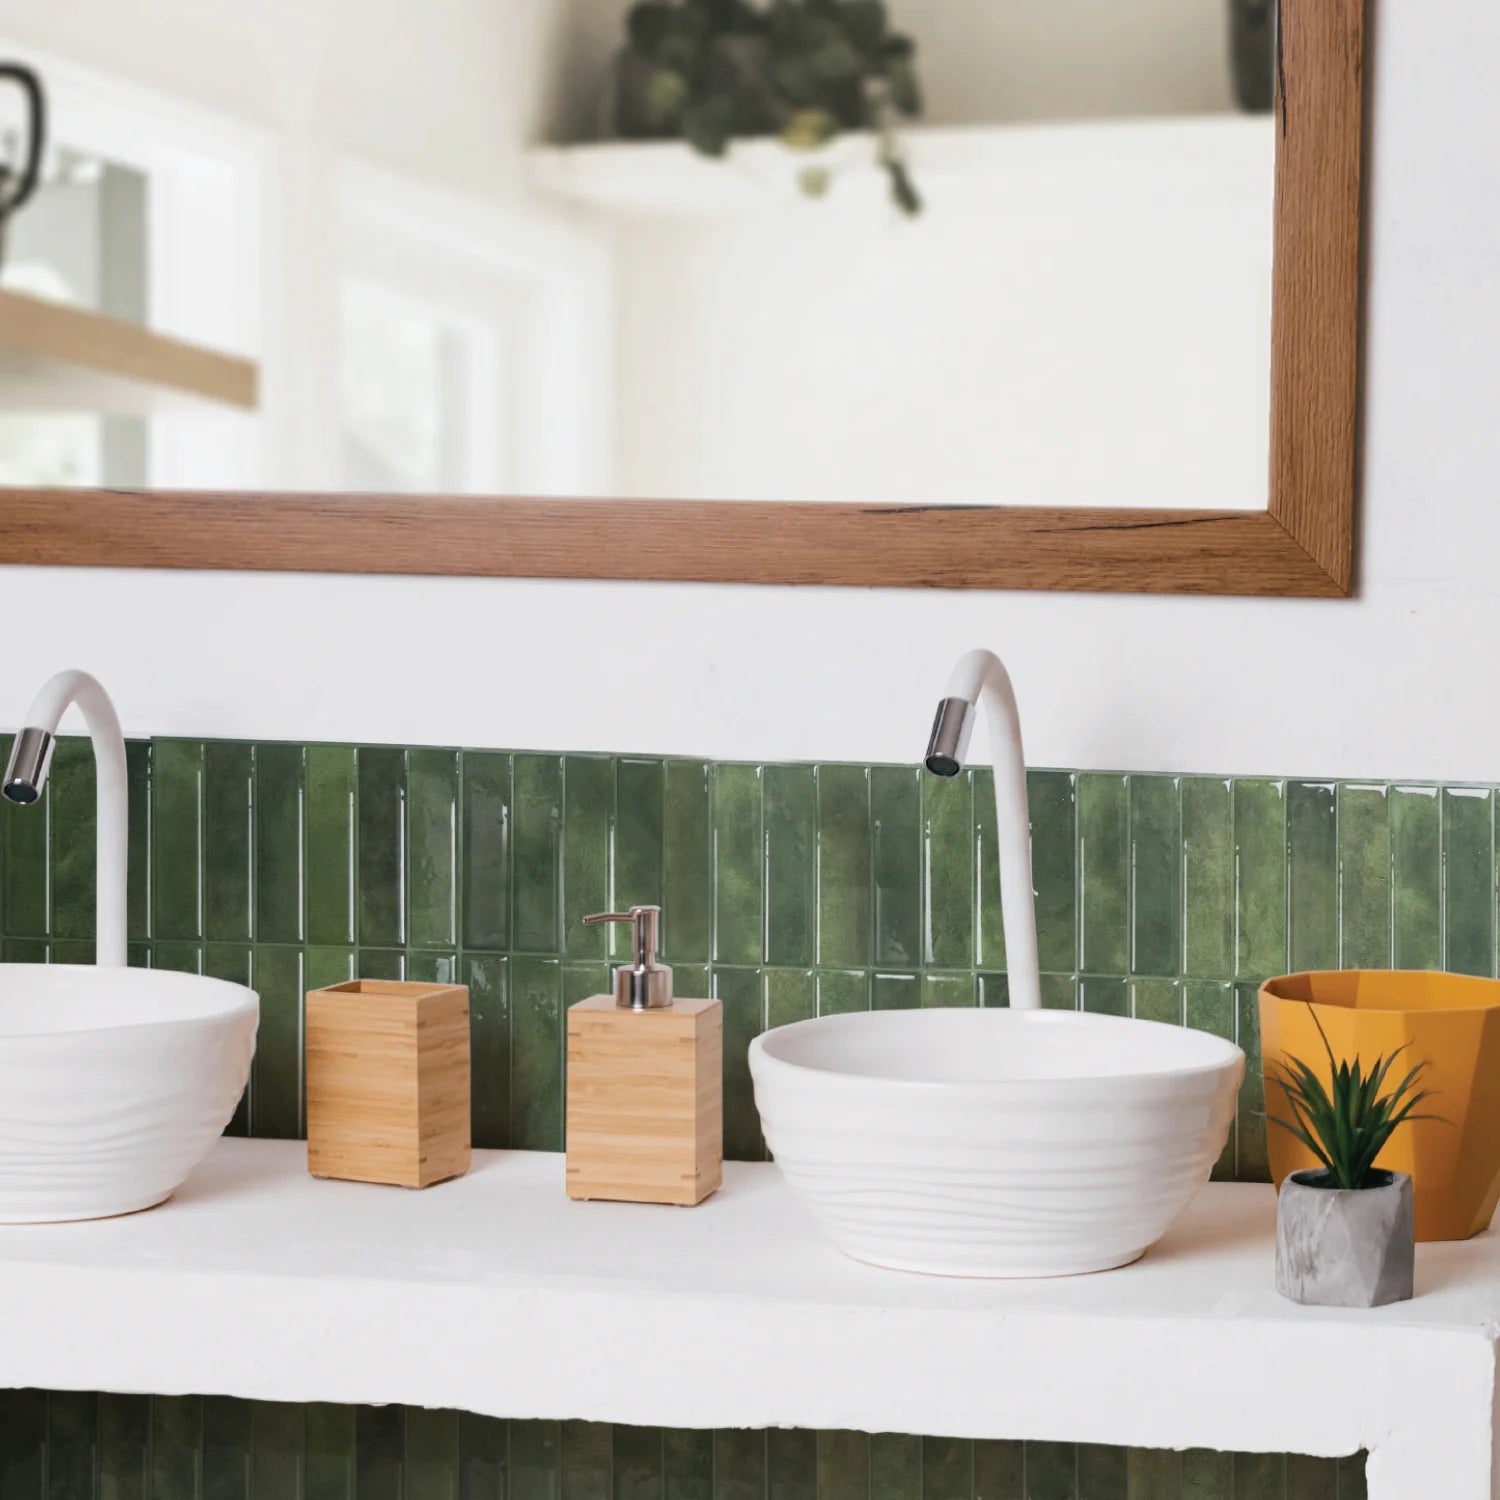
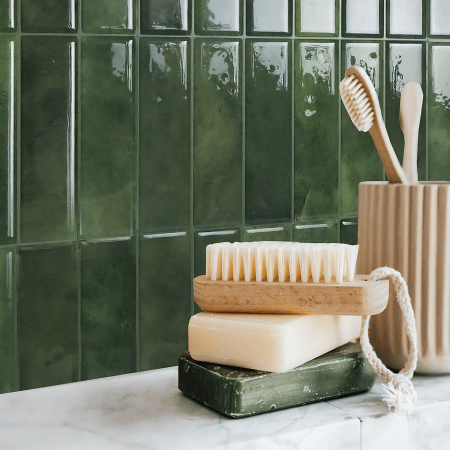
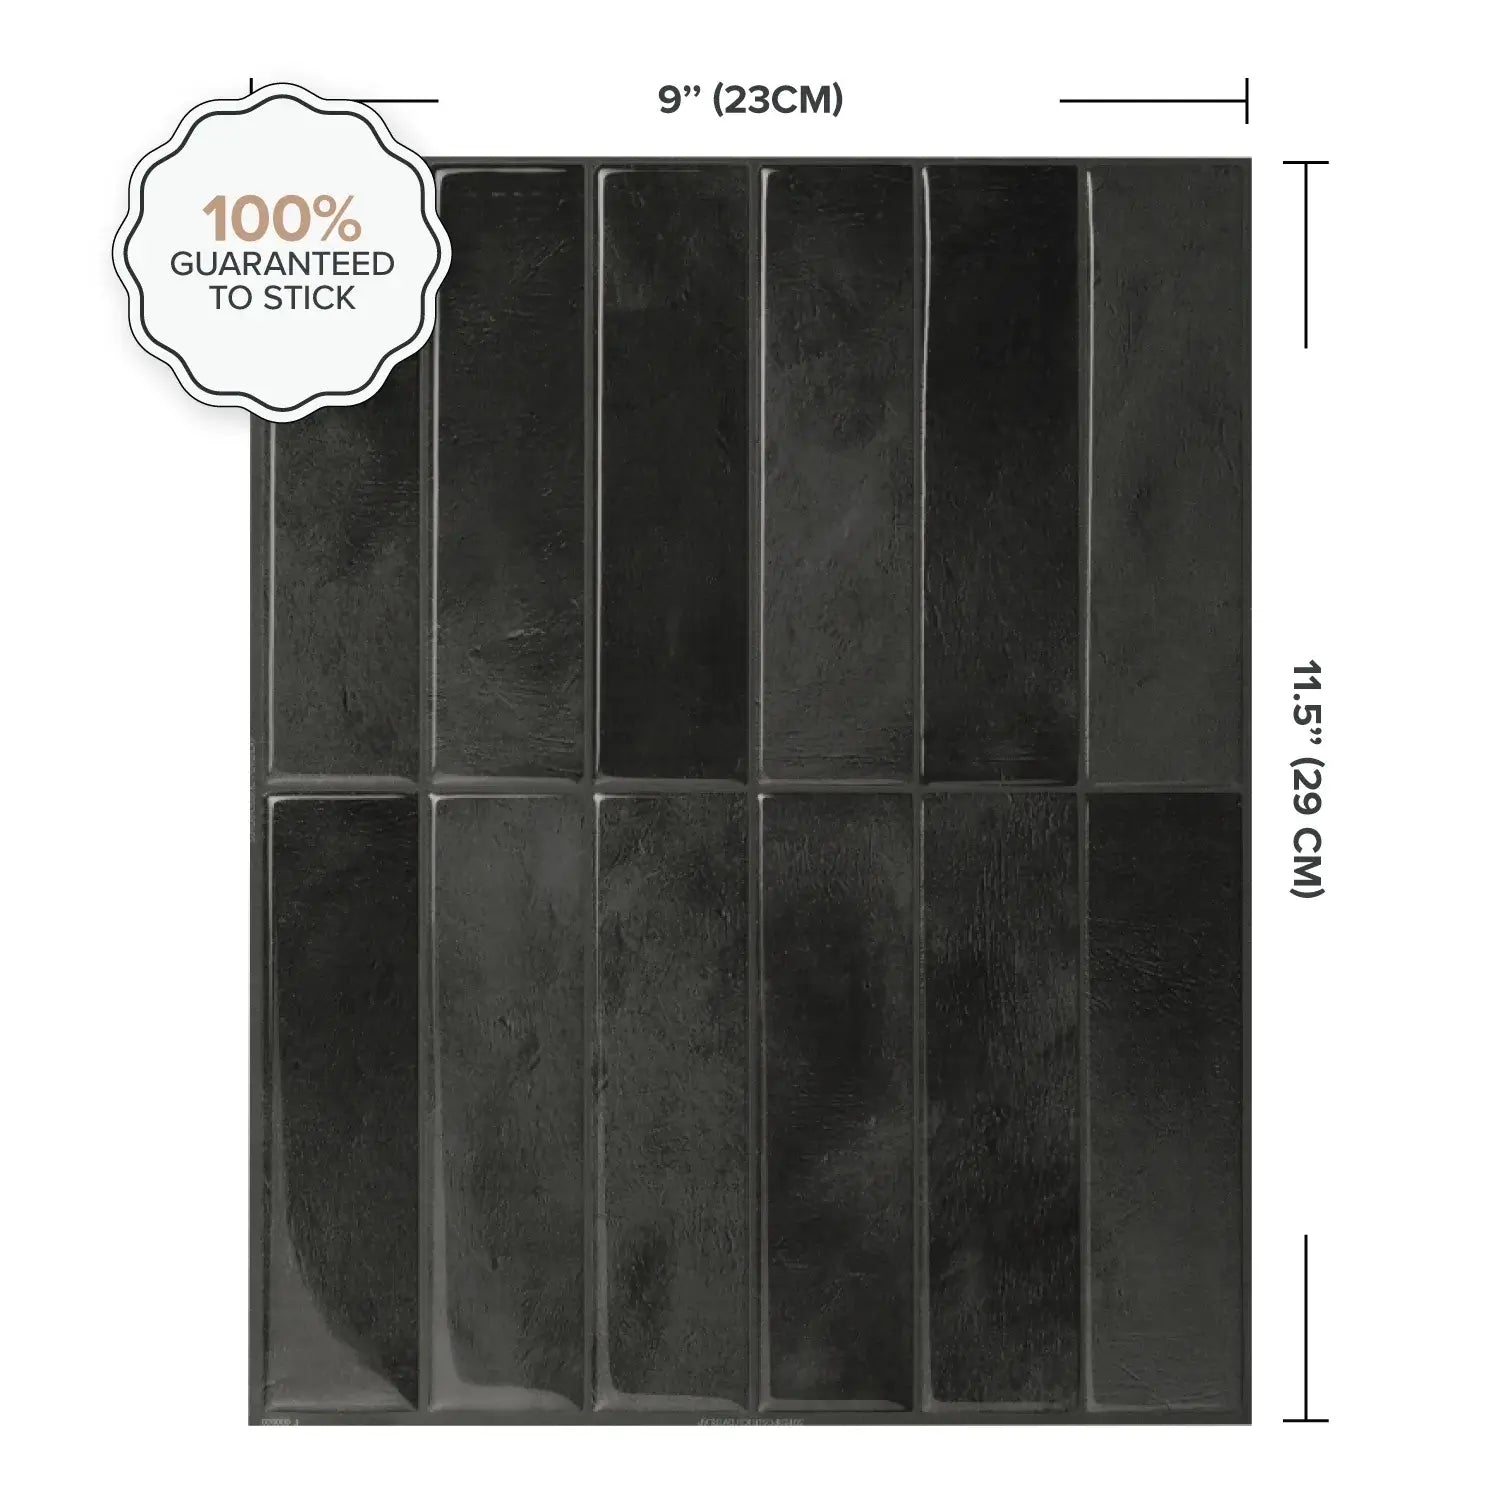
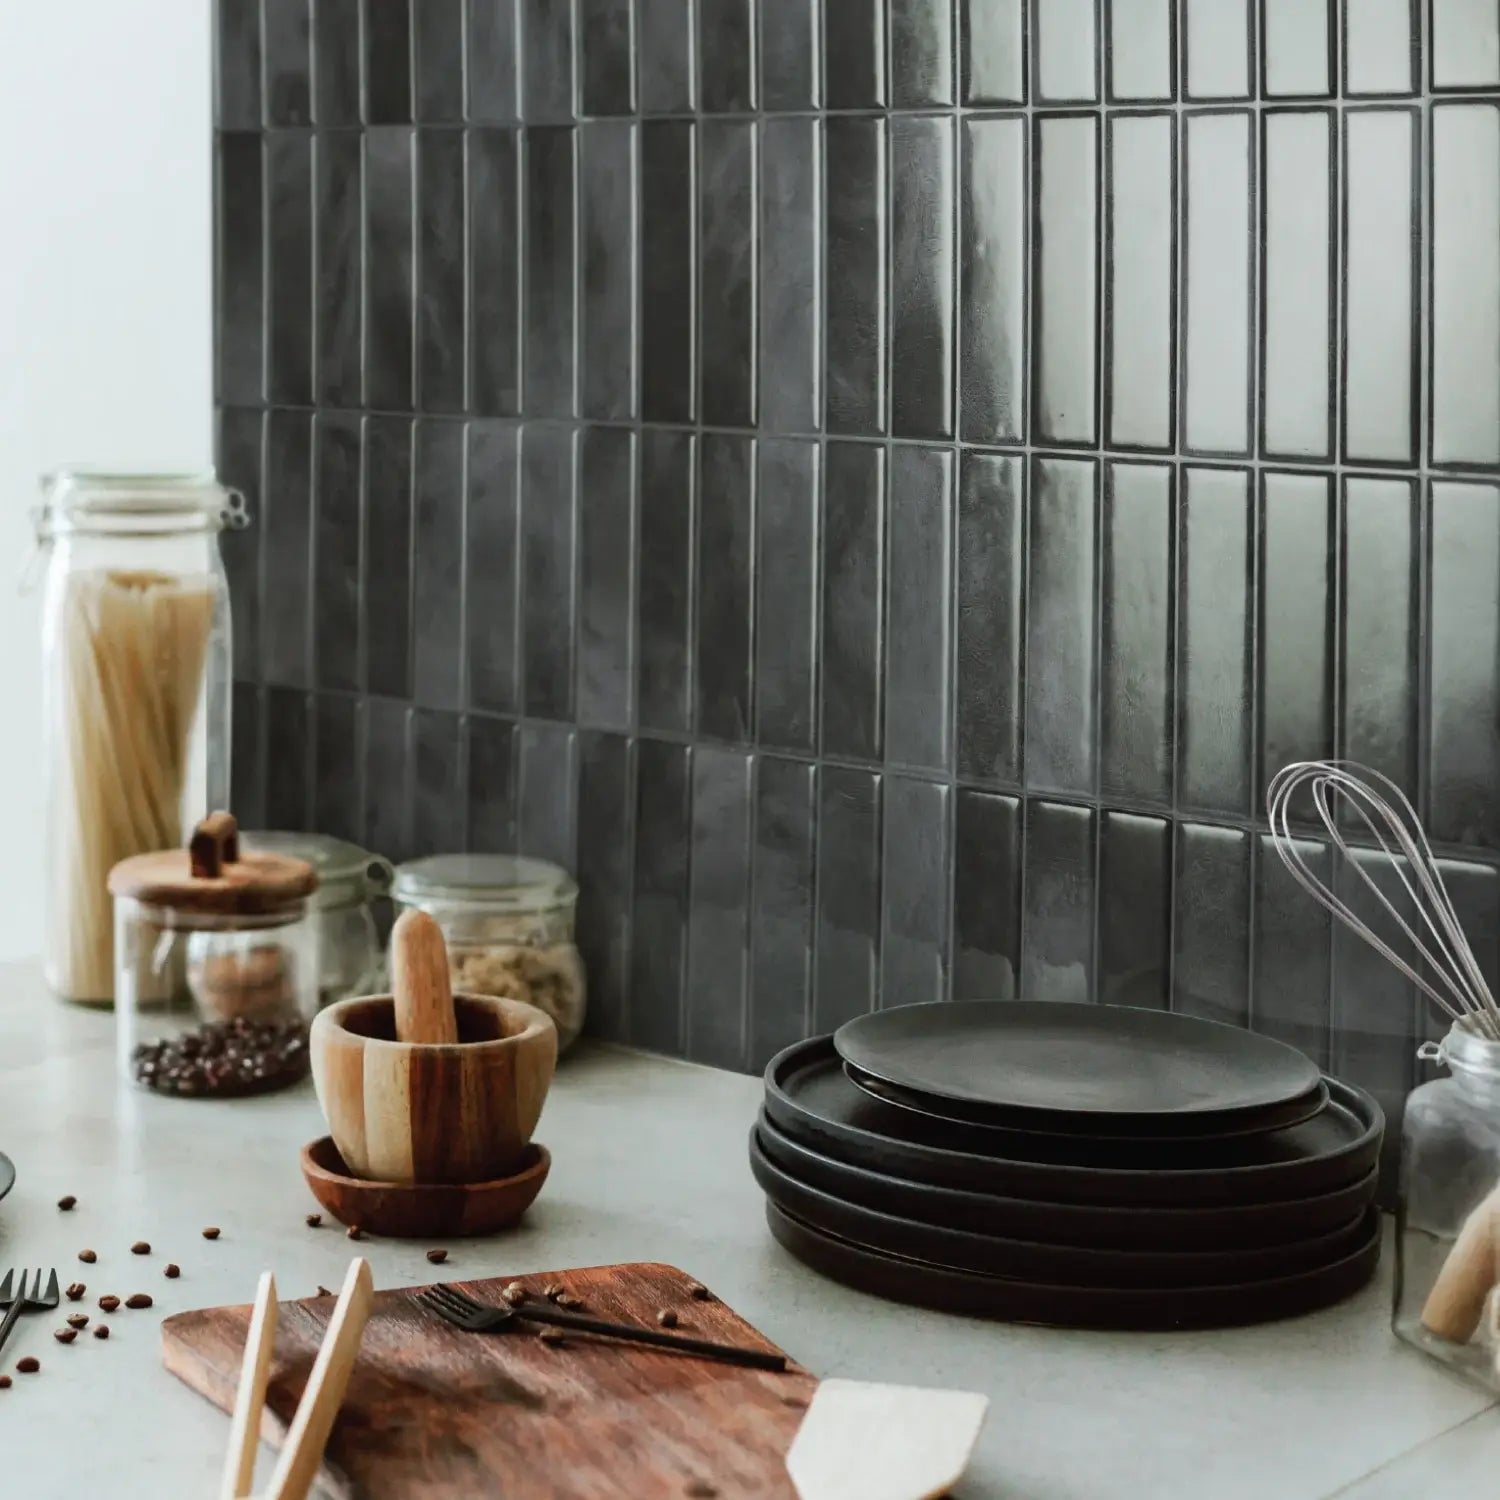
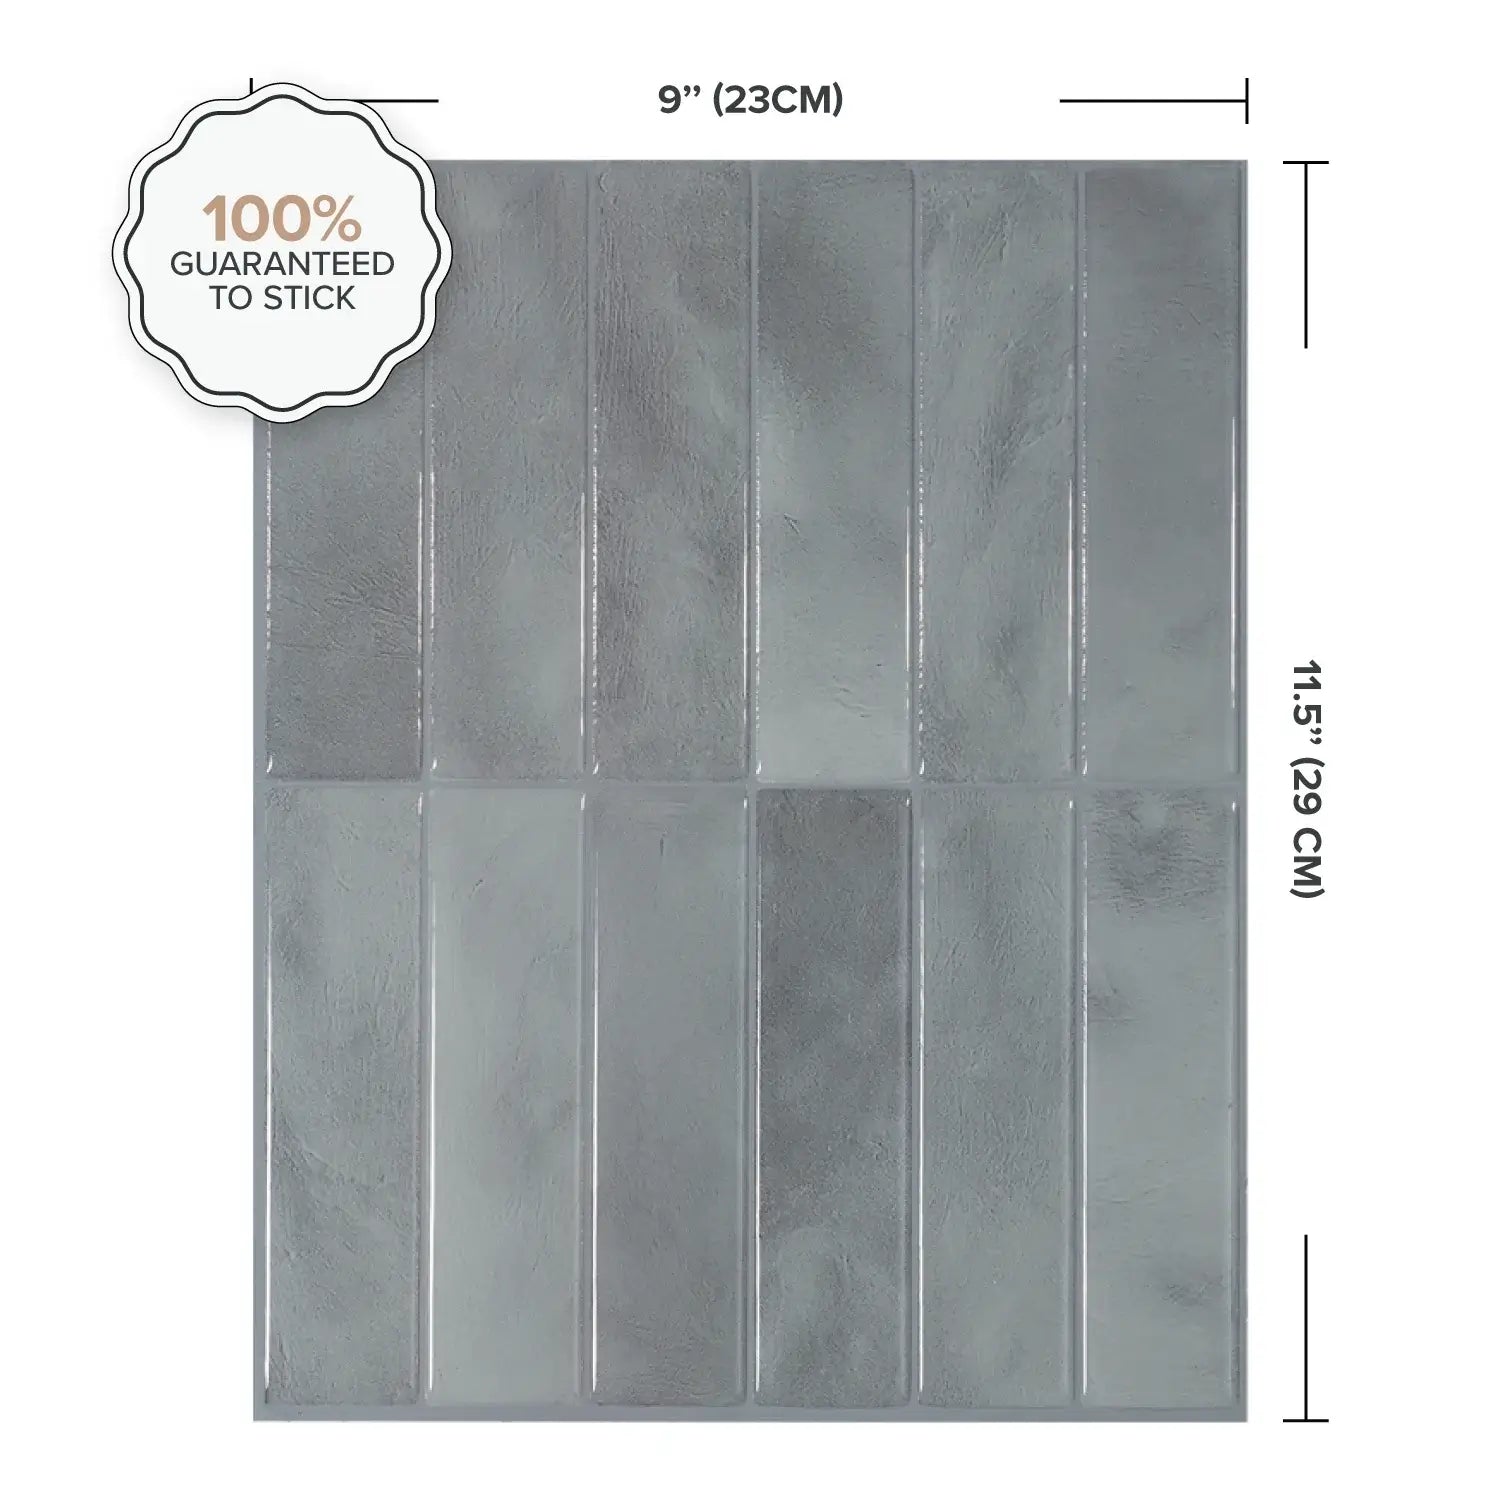
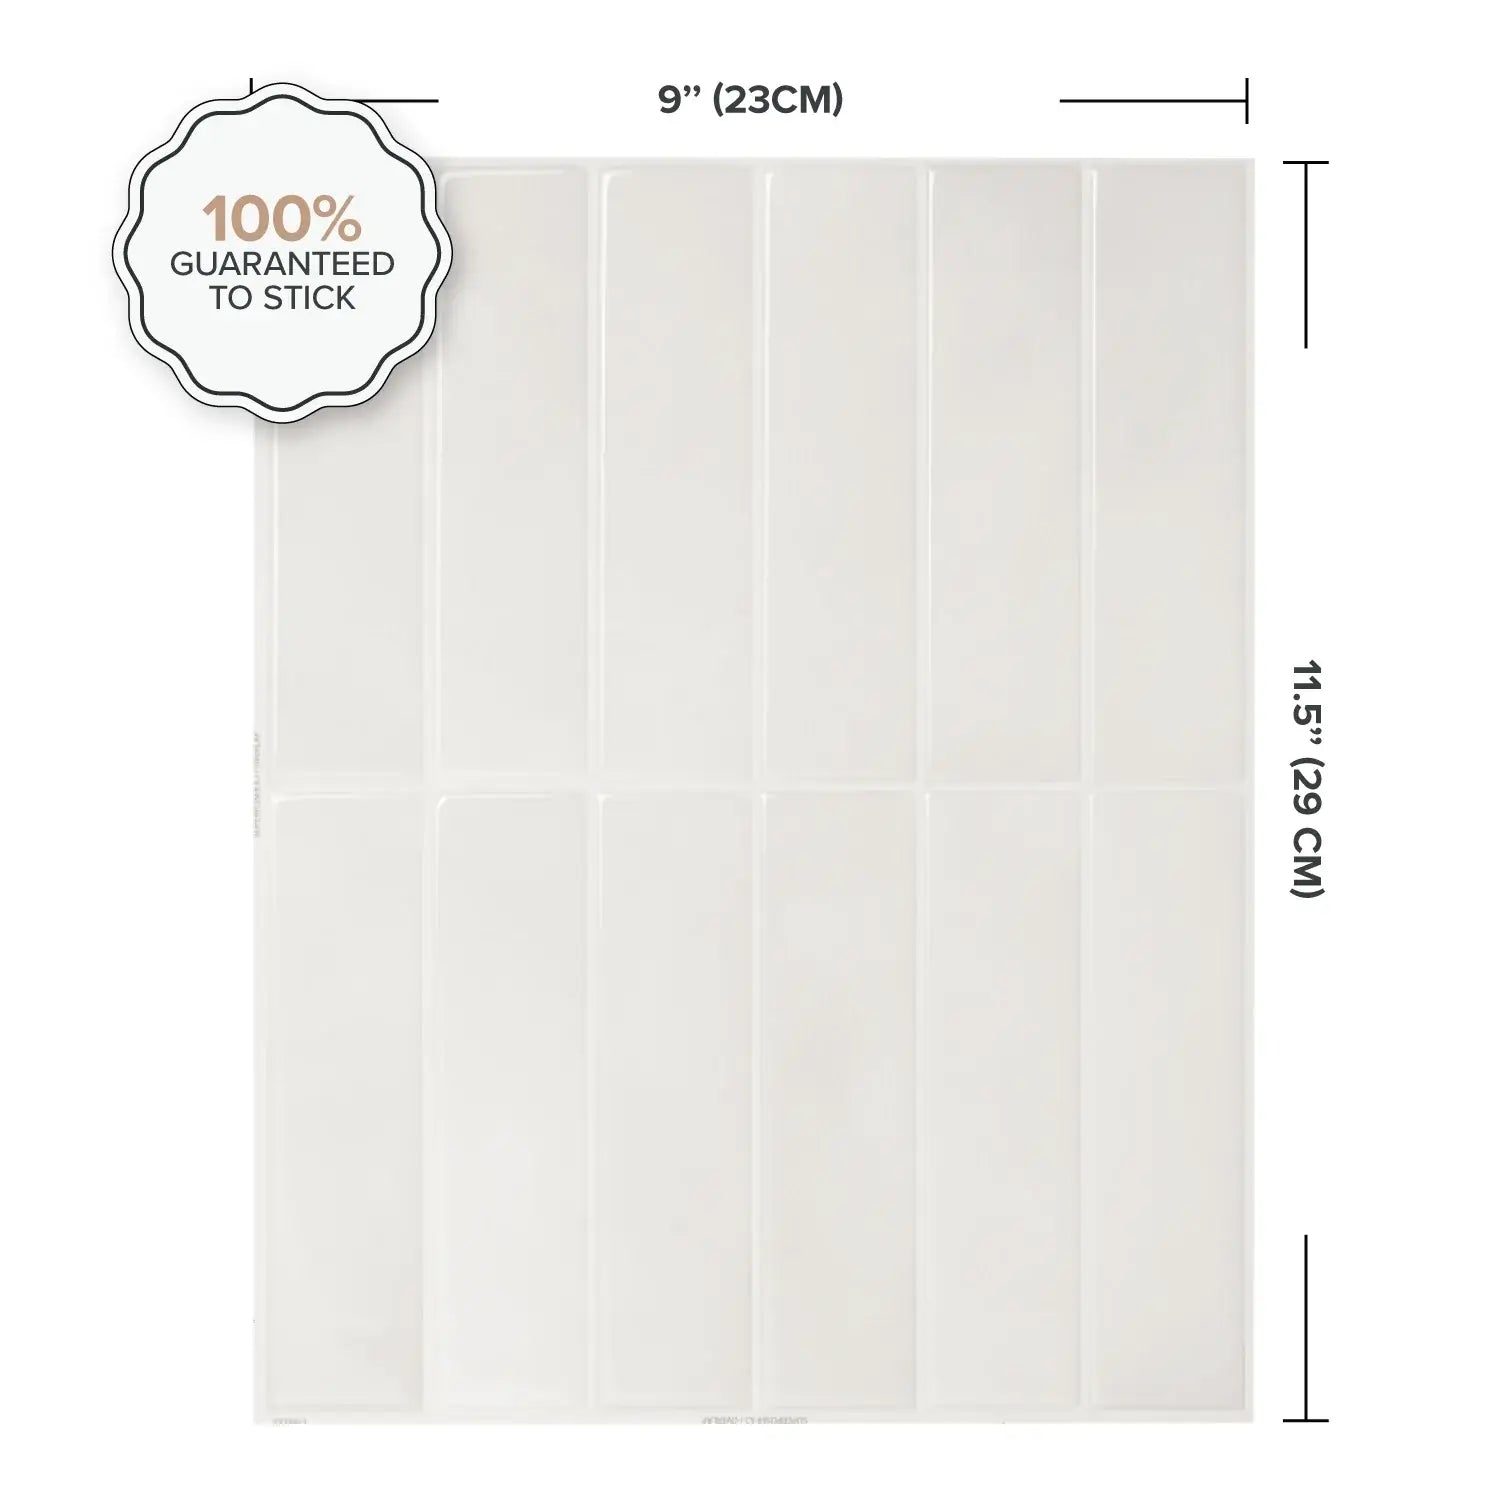
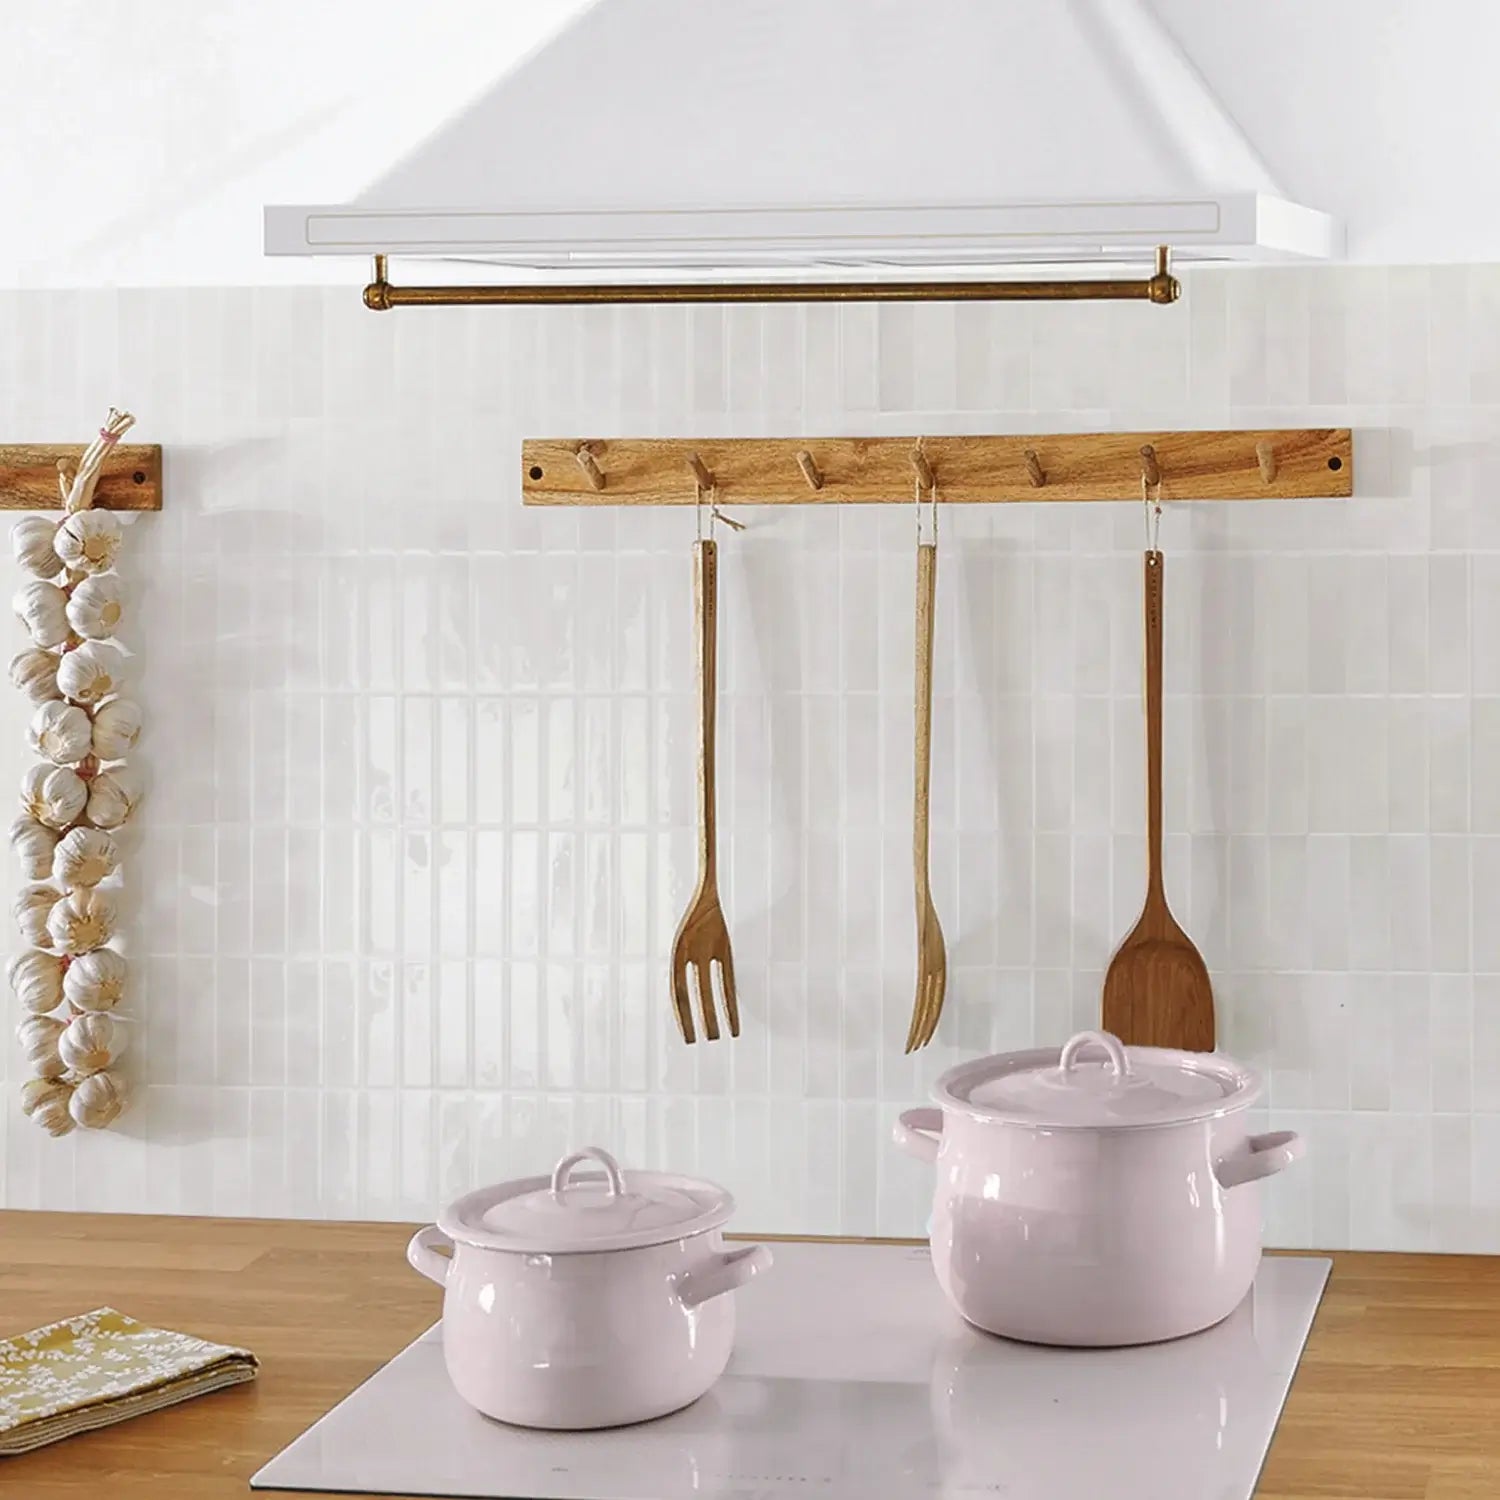
Our premium, self-adhesive tiles feature our innovative 3D Gel-O™ technology for a realistic tile appearance. Designed to withstand heat and humidity, they're perfect for kitchens, bathrooms, and more. Installation is a breeze—just peel, stick, and enjoy a lasting upgrade without the mess or expense of traditional tiling.
Dimensions: 11.43" x 9" (29 cm x 22.9 cm)
Material: High-grade PVC – durable, lightweight, and easy to maintain
Finish: Glossy – for a clean, polished look that elevates any space
Orders ship within 24 hours and arrive in 3–7 business days. Snauff™ guarantees premium quality, backed by a 30-day money-back promise for a smooth, risk-free experience.

Fast US Shipping
Within 3-7 Days

90 Days Money Back
No Questions Asked

Approved By Renters & Home Owners

100.000+ House Transformations
Peel. Stick. Done
Say goodbye to complicated tiling. Transform walls in minutes with our Peel & Stick Smart Tiles, a renter-friendly solution that leaves no residue behind. Perfect for kitchens, bathrooms, and beyond.
About
Durable. Stylish. Endless Possibilities.
Whether it's a steamy shower, a bustling kitchen, or even a fireplace our tiles are waterproof, heat-resistant, anti-mold, and effortless to maintain.
Stress-Free for Renters
No permanent mess, no costly damage, protect your space without risking your deposit.
Moisture-Proof
Tiles that resist mold and water damage, keeping your bathroom clean and your rental record spotless.
Not All Tiles Can Take the Heat
Skip the cheap stick-ons, our tiles won’t warp, bubble, or peel near real fireplace heat.
Humidity? Handled.
No swelling, no stains, just a fresh, low-maintenance look landlords (and your wallet) will love.

Built For Real Life
They’re fast, fun, and foolproof anyone can achieve a professional look, no matter their DIY experience.

Quality Guaranteed
Experience elevated realism and resilience with 3D Texture Gel-O Technology, enhanced adhesive, and premium-grade PVC delivering a secure, long-lasting finish that withstands water, dirt, and temperatures up to 49°C (120°F).
Easily reposition during installation and remove with minimal damage. Permanently affixes after 48 hours.
Seamless Corners & Edges
They’re easy to trim, making corner and edge installations simple and seamless.
About
Just peel, stick and enjoy! Can be applied on existing tiles or smooth surfaces - perfect for renters or homeowners.
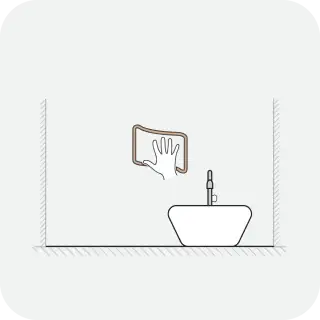
Step 1
Clean the entire surface with a degreaser such as TSP (Trisodium Phosphate). It is not recommended to use dish soap for washing the walls.

Step 2
Mark your wall with a leveled line at the height of the 1st row of tiles to mark where the top of your tile will line up to.

Step 3
Remove the protective film from the back of your tile and apply the tile to your wall on the horizontal line that you marked.

Step 4
Apply one tile after another assuring that the tiles are straight and overlapped. When aligning your tiles, make sure to overlap the letters/numbers along the grout lines to ensure they are not apparent.
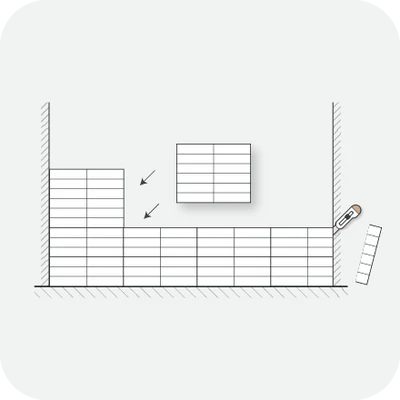
Step 5
Repeat the process for the entire wall, removing the excess at the beginning and end of the rows if needed.
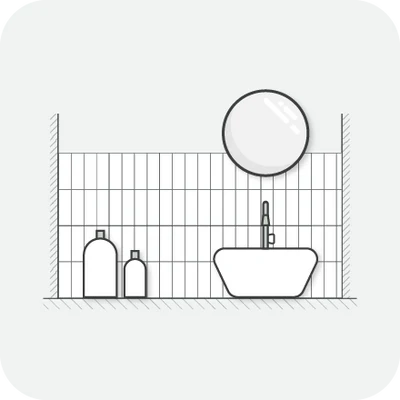
Step 6
After 48 hours, your Tiles have now become permanently applied to the wall. All you have to do now is sit back and enjoy!
Some of our happy Customers

Imagine walking into your kitchen or bathroom and feeling instantly uplifted. The dull, outdated tiles that once made your space feel cramped and uninspiring are gone, replaced by the vibrant, rich texture of TileLux from Snauff. Suddenly, your home feels new, fresh, and welcoming again.
Most Common Question About Our Tiles
Yes! TileLux™ can be applied directly over existing tiles or any smooth surface, making it perfect for quick and easy home transformations without the need for demolition.
Yes, you can easily cut the tiles using a utility knife or scissors to fit around edges, outlets, or corners.
TileLux™ works best on smooth, clean surfaces. Avoid installing on rough, uneven, or porous surfaces for optimal adhesion and longevity.
Absolutely. TileLux™ tiles are heat resistant up to 49°C (120°F) and can handle humidity, making them suitable for kitchens and bathrooms. However, we recommend avoiding direct water contact to ensure long-lasting performance.
Simply peel, stick, and press! The tiles can be repositioned during installation and become permanently affixed after 48 hours.
Yes, they are! TileLux™ tiles can be removed with little to no damage, depending on the surface, making them a perfect solution for renters who want to personalize their space.
No. Thanks to our Gel-O technology, the tiles maintain their 3D effect and will not yellow or crack, ensuring a beautiful, long-lasting finish.
Yes, TileLux™ is designed to withstand heat from stovetops and fireplaces. However, ensure the temperature does not exceed 49°C (120°F) for optimal durability.
To remove, gently heat the tile with a hair dryer and peel it off slowly. This will minimize any damage to the underlying surface.
Simply wipe them with a damp cloth and mild detergent. Avoid abrasive cleaning materials that could damage the surface.
